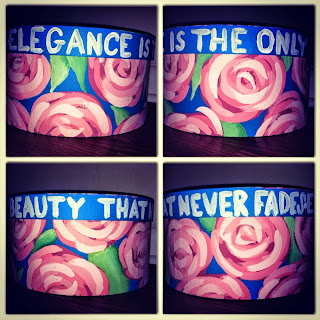
So idk why but I've really been into doing some art here lately.
The first one I did was a 3d drum set on like an abstract background. An the second one is an abstract piece as well. It has lyrics to some of mine and his favorite bands and also music sheets that I glued and paired over where you can barely see the notes poking out.
If you guys would like to see a mini tutorial on how I did either or both of these please lemme know :)
Wednesday, January 9, 2013
Wednesday, September 26, 2012
Monday, September 24, 2012
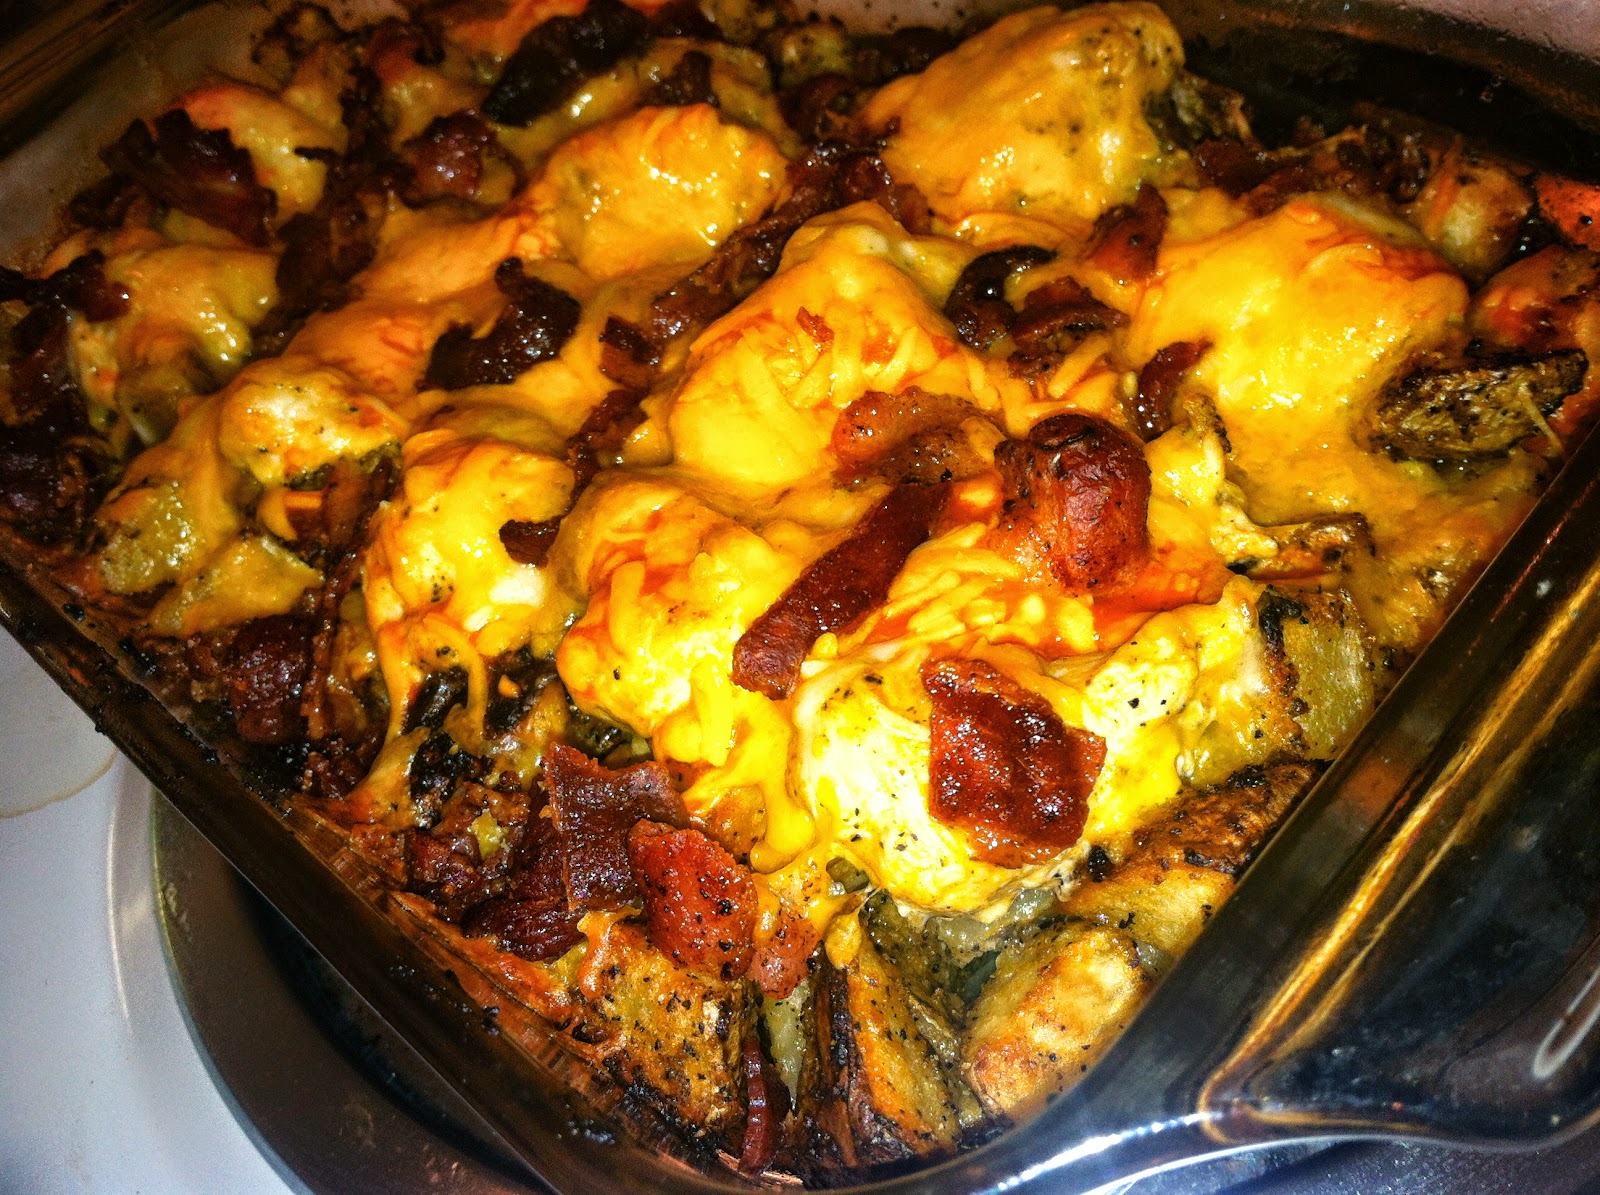
Loaded Potato Buffalo Chicken :)
So today i decided to actually take the time and cook a meal from scratch
which at first i was very skeptical about because of the fact i started
realizing just what i got myself into and how much time it would take
to prepare cook and serve the food
haha but i decided to obviously face the fact i had already started and proceed
so i made loaded potato buffalo chicken like the title says
now be warned it is rather spicy but i will tell you along the way how to turn it down
so you can enjoy it if you are a spicy food kinda person
sooo lets get started :)
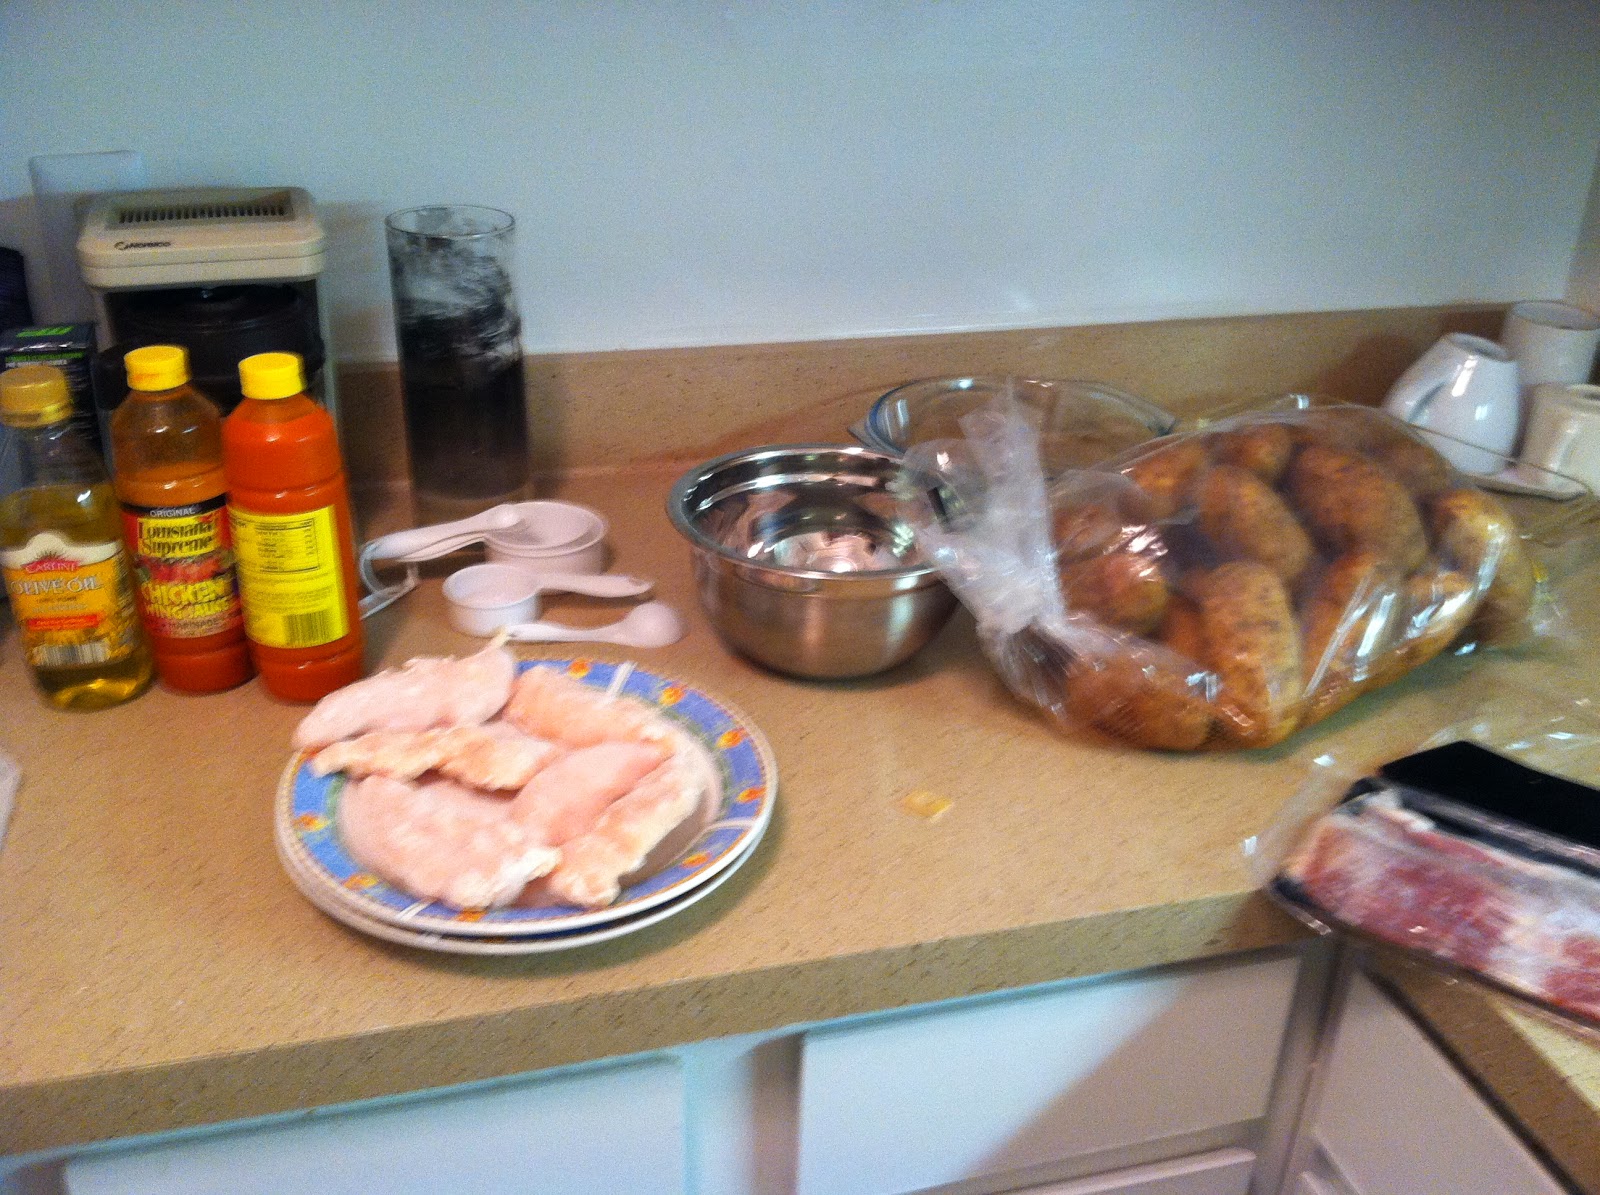
Ingrediants:
- 2lbs boneless (skinless) chicken breast/tenders: cut into 1/2 inch cubes
- 8-10 potatoes: cut into 1/2 inch cubes
- 1/3 cup olive oil
- 1 1/2 tsp. salt
- 1 TBS. ground pepper
- 2 TBS. garlic powder
- 6 TBS. hot sauce/or buffalo sauce (i only did 5)
- Extra: 1 TBS: paprika (i skipped this)
- 2 Cups shredded cheese of your choice (i used mexican blend)
- 1 Cup chopped bacon
- Extra: 1 Cup diced green onion (i didnt have any so i just skipped this)
Topping:
- preheat your oven to 500 F.
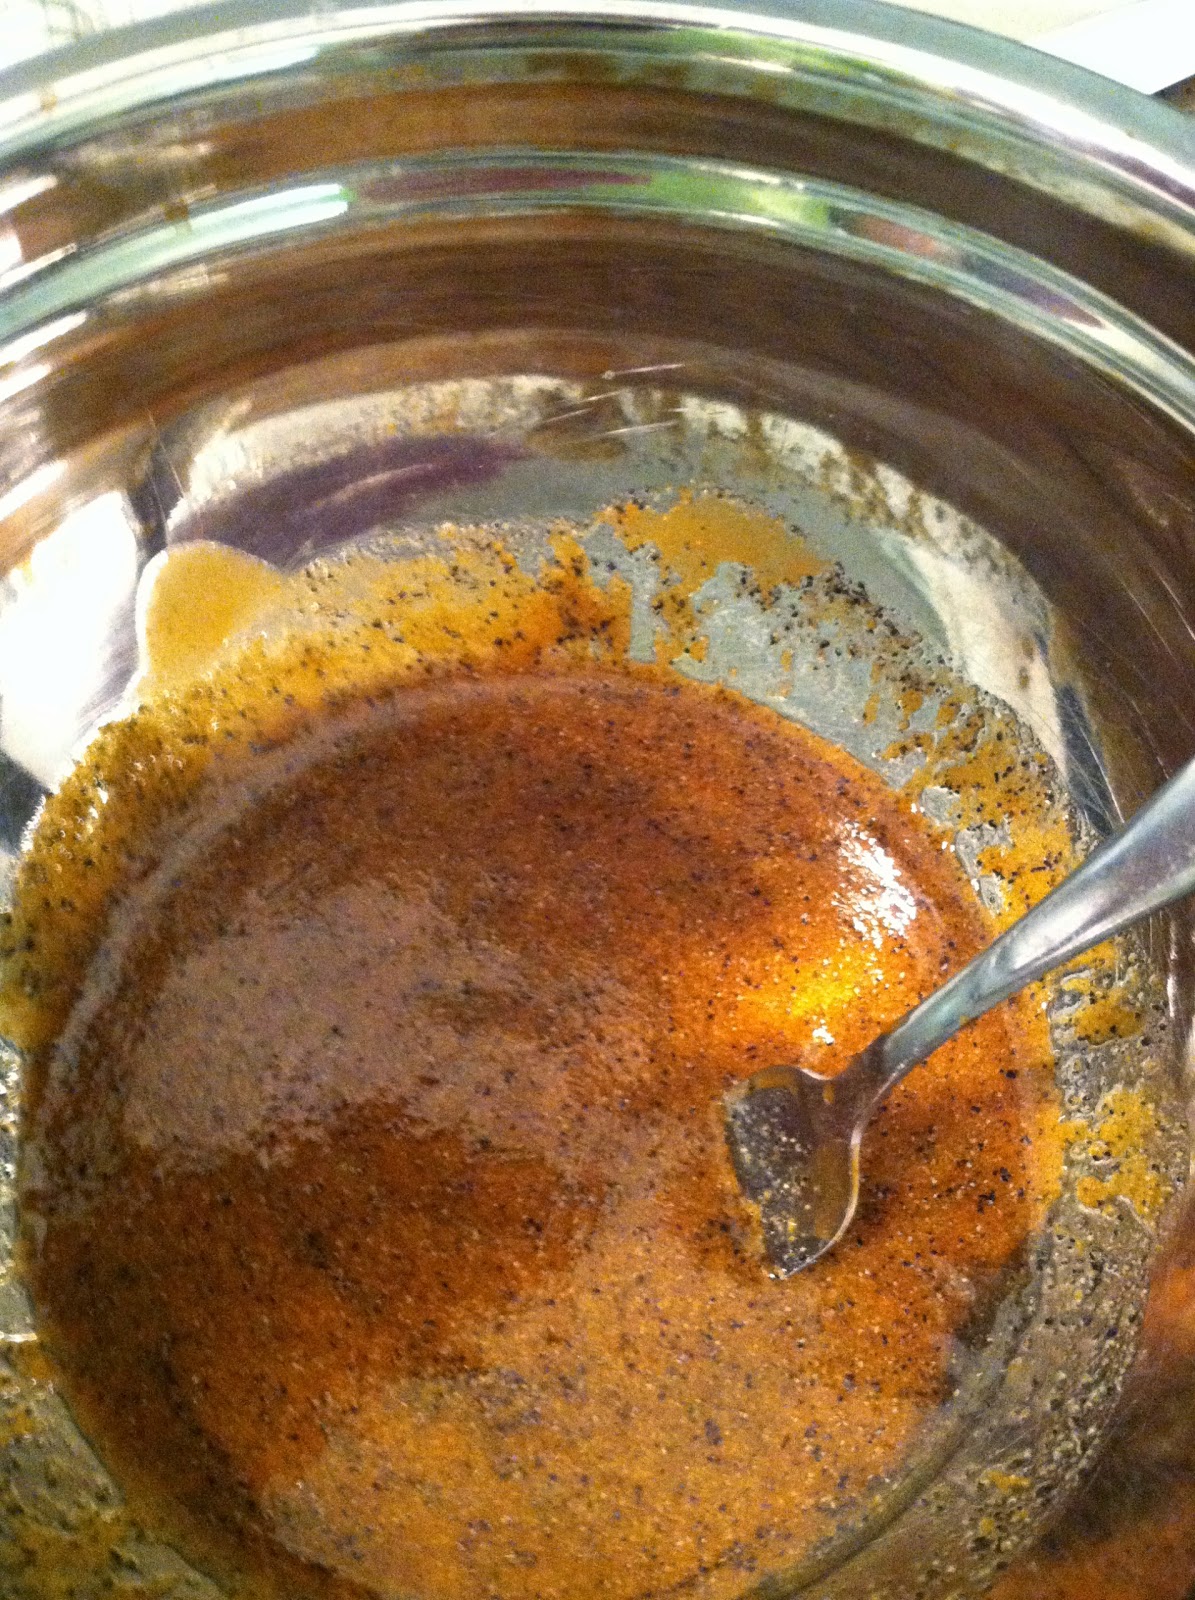
- in a large bowl mix: olive oil, salt, pepper, garlic powder, and hot sauce(you would also add the paprika at this point if you choose to add it)
- add chopped potatoes to mixture and coat evenly
- add potatoes to a greased baking dish and leave as much of the sauce behind as you can in the bowl. bake these for 45-50min and stir every 10-15min until cooked crispy and borwn
- while potatoes are cooking add your uncooked chicken to the leftover sauce mixture in the bowl until they are also coated evenly
- while waiting on the potatoes to finsih cook your bacon if you arent using bacon bits or precooked bacon and chop up into chuncks
- also mix your cheese and green onions if you are using them in a bowl and set both aside
- pull the potatoes out once they are finished cooking and turn the oven down to 400F.
- add the uncooked chicken to the top of the potatoes
- add the cheese and green onion mixture and then top with the bacon
- cook for an additional 15min. or until chicken is cooked all the way
- Serve and enjoy :) i topped ours with sour cream it was so amazing
<<<<<<<<<>>>>>>>>>
sorry i didnt take a lot of pictures i totally forgot along the way because i was in such a hurry to prepare the meal. it was very good though
like i said if you arent into spicy food use less hot sauce and dont use the green onions or paprika the first time i made this i did it identical to the recipe and our mouths were on fire haha
this time i took those items out and also used sour cream on top and it was just the right amount of hot (but not mouth on fire im panicing to find milk to cool it down like last time)
but everyone approved and are already asking when im making it again
so im sure your family will love it too
enjoy though and id love to hear about your experience with the recipe :)
Saturday, December 17, 2011
Guest Post: By Kadydid Designs
Hi! My name is Alyssa, from Kadydid Designs. I am so excited to be guest posting on My Creative Side today! I would like to share a quick, easy, cheap and non-edible (cause don't we get enough to munch on during the month?) DIY gift idea for any girl (of any age!) that you may have on your list. They are, Twinkle Toes kits!
Simply take a small container of your choice (I used small paint cans from the craft store. The photo above is just a glass jar.) Decorate it with any paper/fabric/ribbon of your choice.
And then stuff it full of your favorite mani/pedi items! If you watch closely before the holidays, you can get most of this stuff for next to nothing. The kits I made last year cost me maybe $7.00/kit. What do I put in them? A full size nail polish, pumice stone (ULTA has cute tree shaped ones), nail file, mini bottle of lotion and a few chocolates.
Have fun with them, and I promise they'll be a big hit! Happy Holidays, and please feel free to visit me over at Kadydid Designs any time!!
Subscribe to:
Posts (Atom)